What Is GravityView?
Back to: Getting Started with GravityView
Welcome to Part #1 of Getting Started With GravityView!
In this section we’re going to help you get to grips with what GravityView is, what you can do with it, and why it’s so powerful!
At the end, we’ll give you a sneak peek at the business directory that we’re going to be building throughout the course.
What Is GravityView?
Ok, so what is GravityView?
A simple explanation of GravityView would be that it’s a WordPress plugin that extends Gravity Forms by allowing you to display your form data on the front end of your website.
However, “displaying form data on your website” doesn’t really do justice to GravityView’s extensive functionality.
So perhaps a better explanation of GravityView would be that it’s a WordPress plugin that extends Gravity Forms by allowing you to build powerful front end applications using your form data.
What Can You Do With GravityView?
GravityView acts as a framework, allowing you to build powerful front-end applications using an intuitive drag and drop interface!
The best way to illustrate the power of GravityView is with some practical examples.
Display Donations
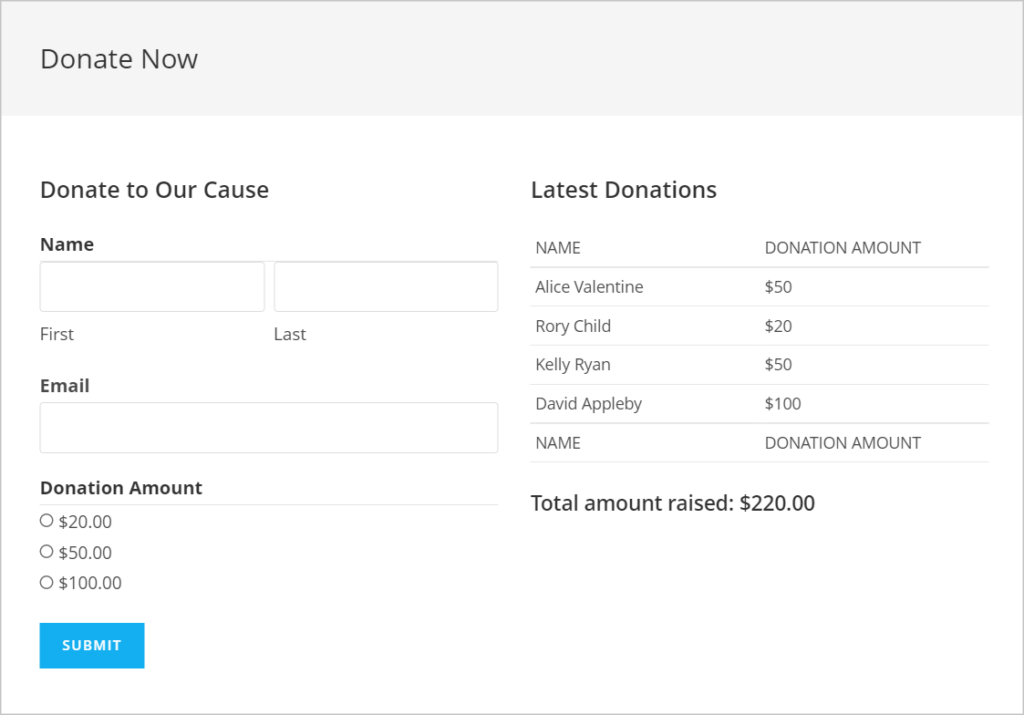
If you’re a nonprofit, you might use GravityView to display a list of donations on your website. Gravity Forms’ payment integrations allow you to build donation forms for your website. You can then construct a View to display a list of donors.
Build a Task-Management System
GravityView’s powerful DataTables layout, along with its front-end editing capabilities, make it the perfect framework for building a custom task-management system.
Use Gravity Forms to add new tasks to the database. GravityView then lets you display, organize, filter and update tasks from the front end.
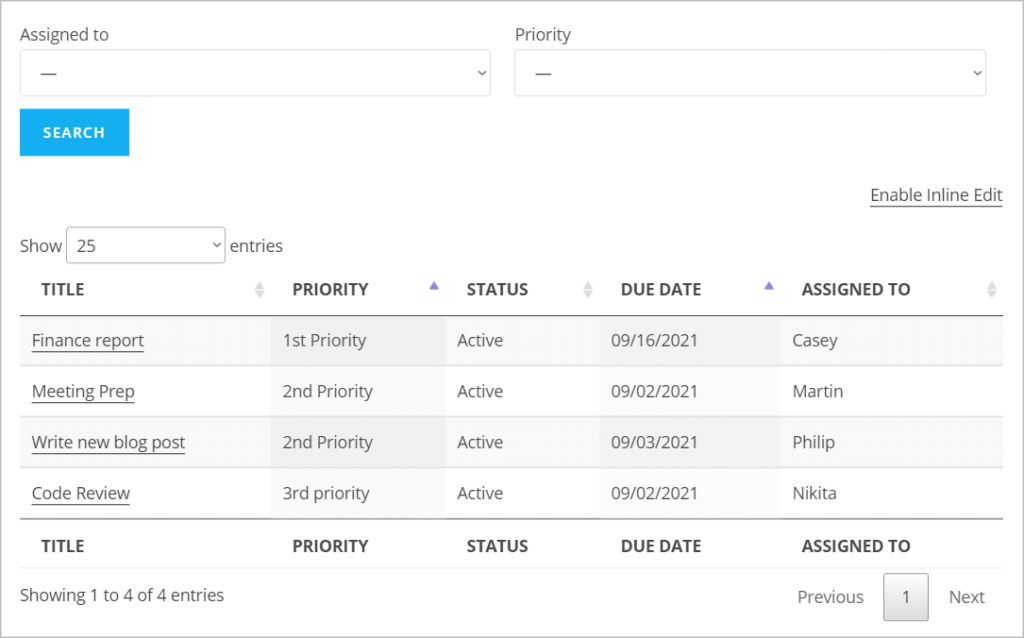
GravityView front-end editing in action (using the Inline Edit add-on).

Create a job listing form using Gravity Forms and display job postings on the front end using the GravityView List layout! Display “featured” jobs at the top with our Featured Entries add-on and add advanced search features using A-Z Filters.

Build an Issue Tracker
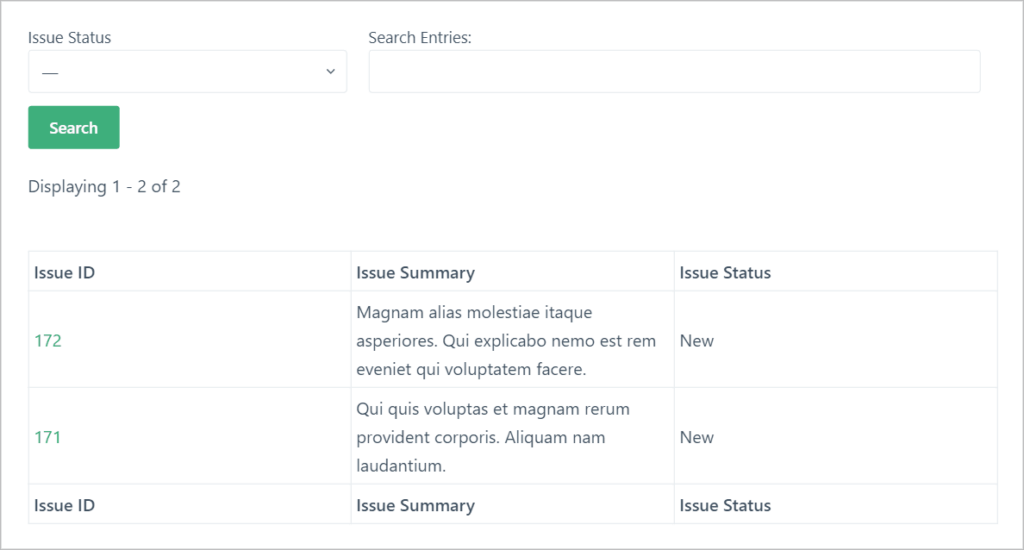
Software companies need a way to log errors and keep track of bugs. Using GravityView, you can build a custom issue tracking system that allows you to track issues and update their statuses from the front end.
Create a Geolocation Directory
The GravityView Maps layout allows you to display Gravity Forms entries as markers on a Google Map. This is perfect for creating geolocation directories or store locators.

Modernize Your Website
Dragonfly, a video production company in the UK, uses GravityView to power their internal database of talent!

Learn more about what GravityView can do for you!
What We’re Going to Build in This Course
Now that we’ve covered what GravityView is and what you can do with it, let’s take a sneak peek at what we’re going to build in this course.
In this course, we’ll focus on building a business directory. When we’re done, it’ll look something like this:
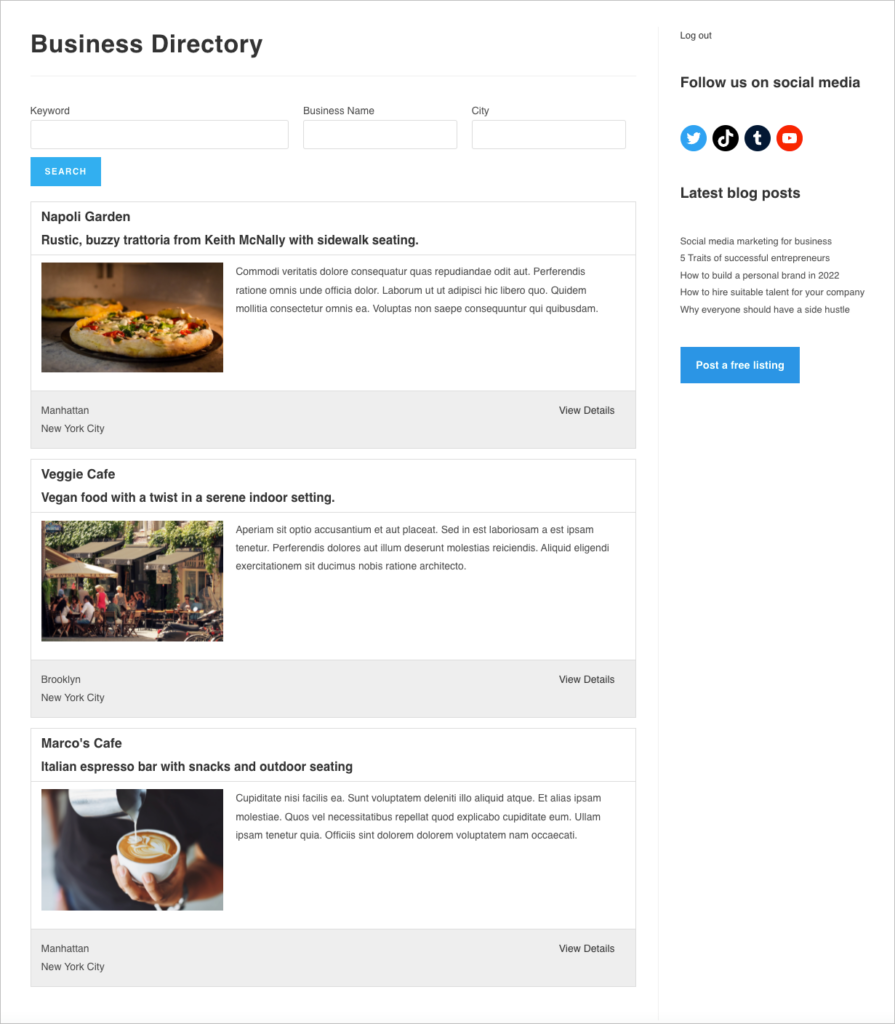
As you can see, it’s a directory of restaurants and cafés in various different cities around the country.
The search bar at the top allows visitors to search for businesses using three different inputs bars:
- Keyword
- Business Name
- City

Each entry also has a link in the bottom right that says “View Details”. By clicking this link, users will be taken through to the Single Entry page where they can view more details about the business.

As you can see, the Single Entry page contains extra information about the listing including contact details (email address and phone number) and the full address.
There is also a link in the right-hand corner allowing entry owners to edit entries they create.

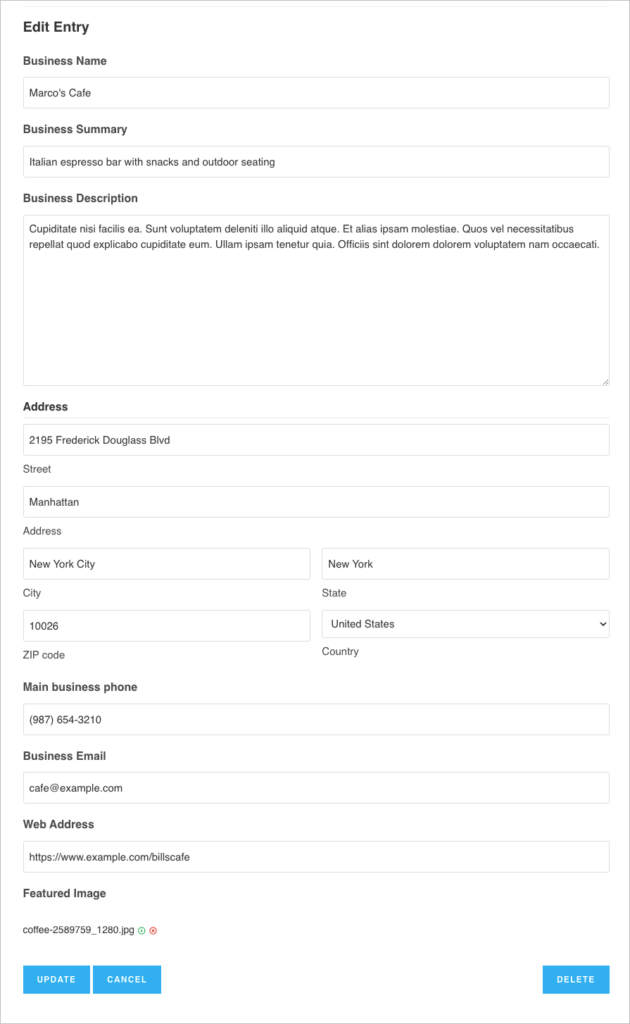
If the entry owner clicks on this link, they will be taken through to the Edit Entry page where they can update their listing from the front end.
Let’s Get Started
Everything you learn in this course will be applicable to building any kind of web app using GravityView. If you want to follow along and build your own directory as we go, you can do that. Otherwise, feel free just to watch the videos and absorb things as we go.
Okay, that brings us to the end of part 1. In part 2 we’ll begin constructing our business directory.
