
Creating the View (Multiple Entries Layout)
Back to: Getting Started with GravityView
Welcome to Part #4 of Getting Started With GravityView. In this section, we’re going to start building our business directory!
Creating a New View
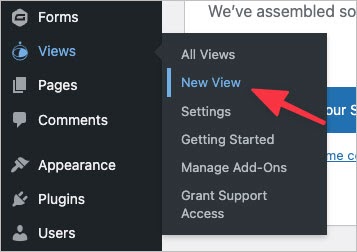
To create a new View, hover over Views and click New View.
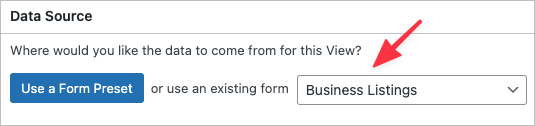
After giving your View a name, you’ll need to select a data source. The data source refers to a form in Gravity Forms and defines the data you want to display on the front end.
To choose a data source, click on the dropdown menu and select your business listing form.
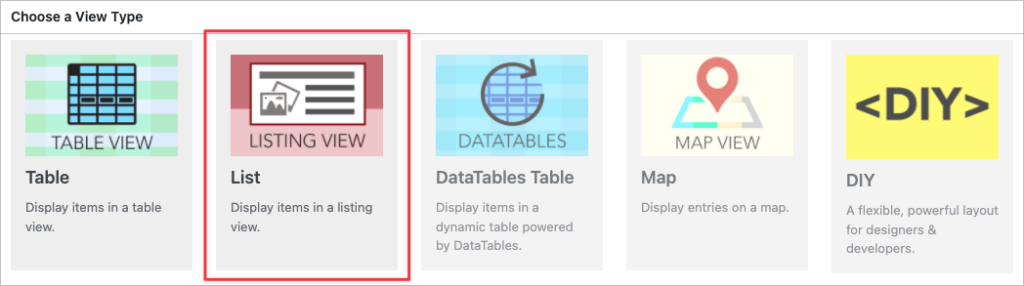
The next step is to choose a View layout.
Choosing a View Layout
GravityView includes various layout options that allow you to display data in different ways. The layout you choose will depend on the kind of application you’re building.
- Table
Display data in rows and columns (good for numerical data)
- List
Display entries one after the after in a directory-style layout
- DataTables Table
Includes advanced filtering, sorting and exporting capabilities.
- Map
Display entries as markers on a Google Map
- DIY
Build your own layout using HTML/CSS.
Note
The Table and List layouts come standard with GravityView Core. However, depending on your license level, you may not have access to all three of the other layout options.
Go ahead and select the List layout.
The Multiple Entries Layout
After selecting a layout, you can start constructing your View using GravityView’s drag and drop editor. A View is made up of three layouts – the Multiple Entries Layout, the Single Entry Layout and the Edit Entry Layout.

- Multiple Entries Layout
This is the page where your entries will be displayed one after the other (i.e. the main directory page!).
- Single Entry Layout
This is where users can go to view more information about a single listing.
- Edit Entry Layout
The Edit Entry page allows users to edit listing details from the front end.
In this section, we’re going to focus on configuring the Multiple Entries layout.
Adding Fields Using the Visual Editor
When constructing your View layout, you have the option to add both fields and widgets. Let’s start by adding fields to the Entries Fields section.
As you can see, the List layout includes the following sections:
- Listing Title
- Subheading
- Image
- Other Fields
- Footer Left
- Footer Right
To add fields to any of these sections, all you need to do is click on the ‘+ Add Field’ button and select the field you want to add.

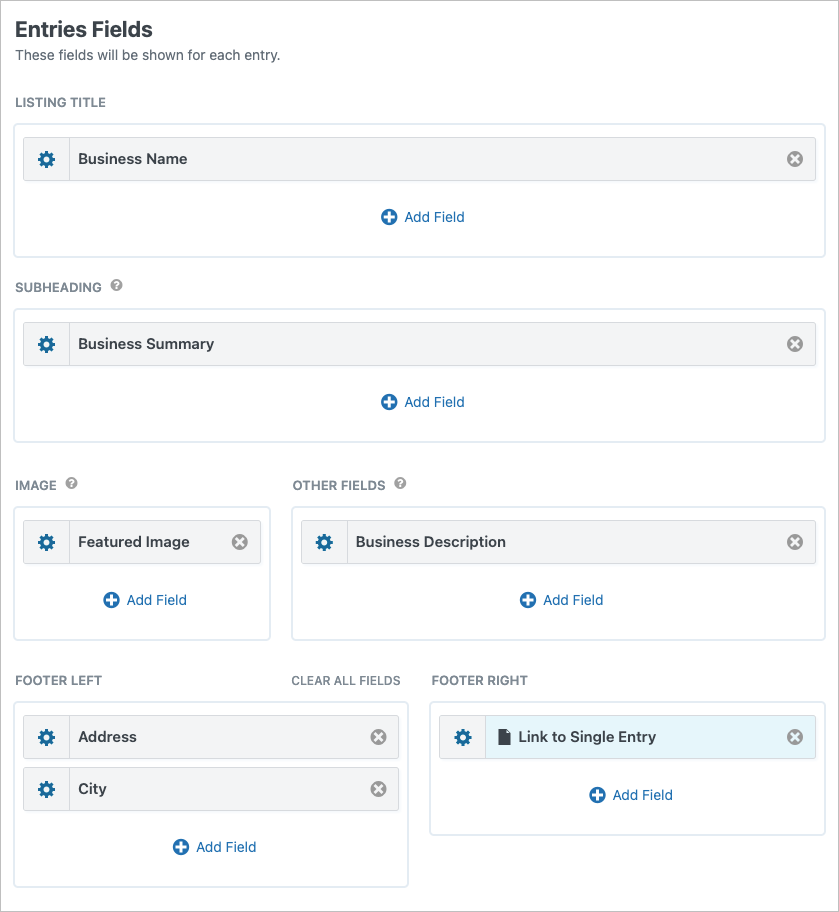
Start off by adding the “Business Name” field to the Listing Title section and the “Business Summary” field to the Subheading section. Next, add the “Featured Image” field to the Image section and the “Business Description” to the Other Fields section.
Finally, add the Address field to the Footer Left section. If you don’t want to include the full address, just add the part of it.
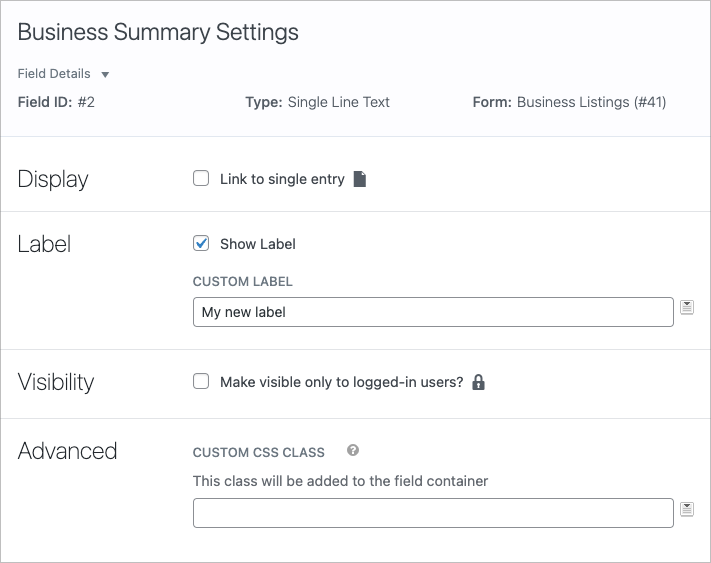
To open the Field Settings window, click on the gear icon.
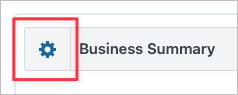
Here you can adjust the field label text, change the visibility settings, add custom CSS classes and more.
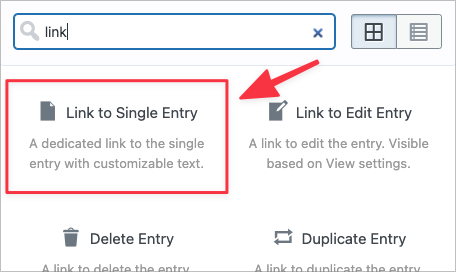
The last field we need to add is a link to the single entry page. This will allow users to click through and view more information about a particular entry.
To add a link to the single entry, click on the ‘+ Add Field’ button and select “Link to Single Entry”. Add this to the right of the Footer section.
Here’s what our View layout looks like after adding all the necessary fields:
The final step is to add the search bar.
Adding a Search Bar Widget
The Multiple Entries Layout includes two widget areas – one at the top and one at the bottom of the View editor.
To add a search bar to the top of your directory, scroll up to the Top Widgets area, click the ‘+ Add Widget’ button and select the Search Bar widget.

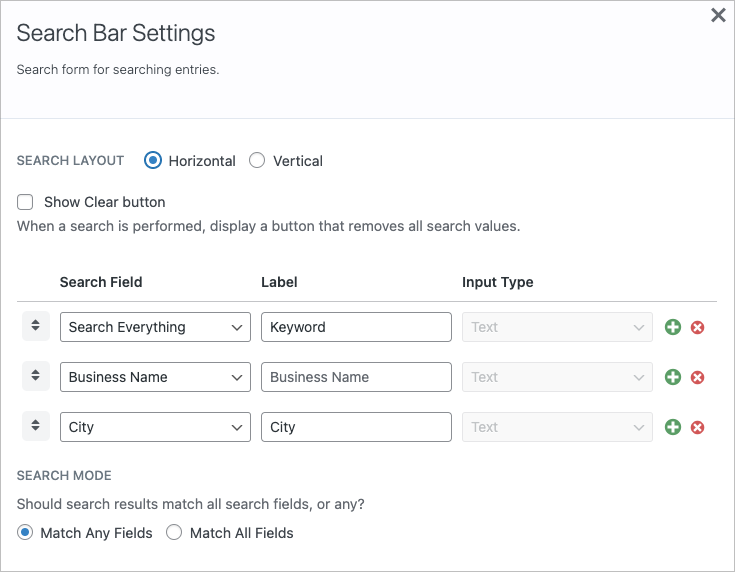
Now click on the gear icon to configure the search settings. Here, you can add multiple search inputs, allowing users to search across different fields. We’ll add search fields for the business name, the city where the business is located, and one for general keywords related to the business.
That’s it!
Check it Out on the Front End
When you’re done, click “Preview” to check out your View on the front end.
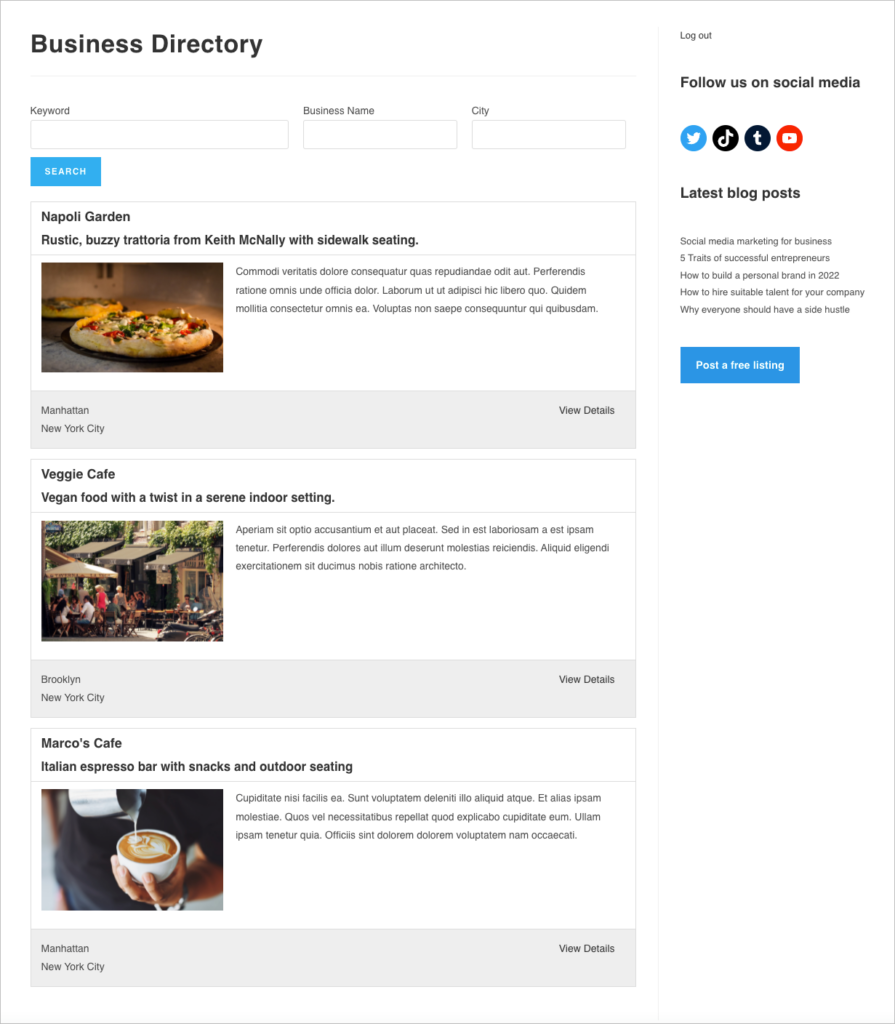
Conclusion
In this section, we created a new View and configured the Multiple Entries Layout. In the next section, we’ll build the Single Entry Layout! See you in part #5! 👋