
Creating the View (Edit Entry Layout)
Back to: Getting Started with GravityView
In this part of the course, we’re going to finish constructing our View by configuring the Edit Entry layout. The Edit Entry layout is where entry owners go to update their directory listing from the front end.
Configuring the Edit Entry layout
Click on the “Edit Entry Layout” tab at the top.

If you leave the layout blank, all form fields will be editable!
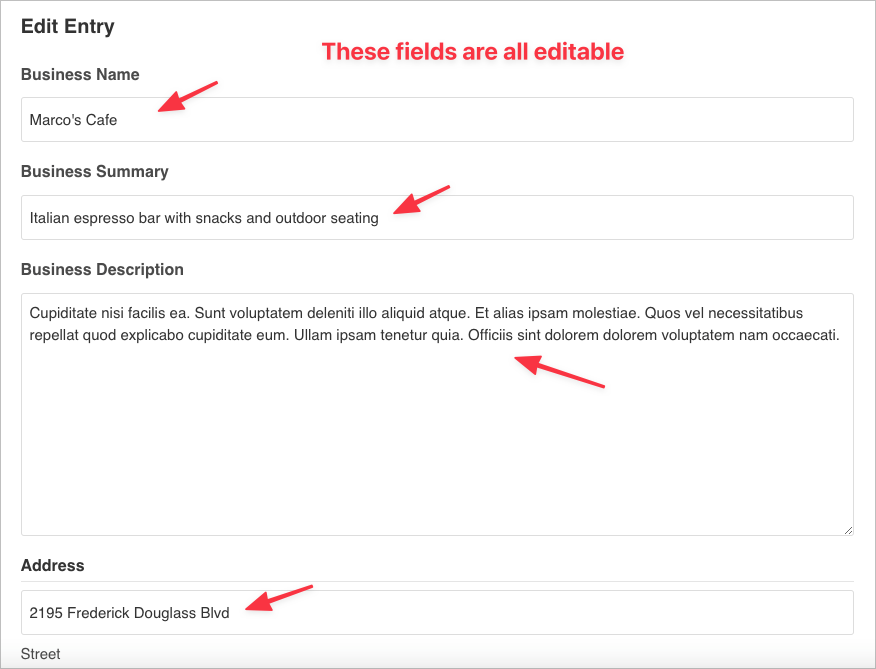
However, if you only want certain form fields to be editable from the front end, you’ll need to add them to the View editor.
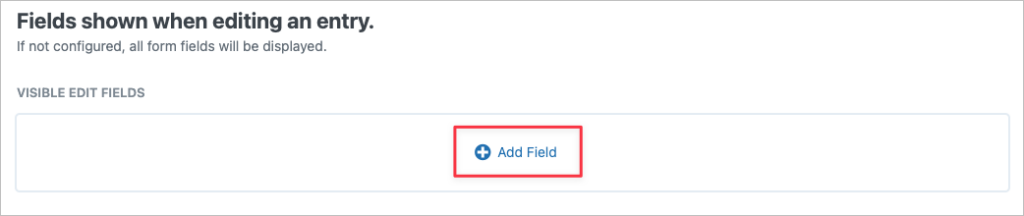
To add fields, simply click on the ‘+ Add Field’ button.
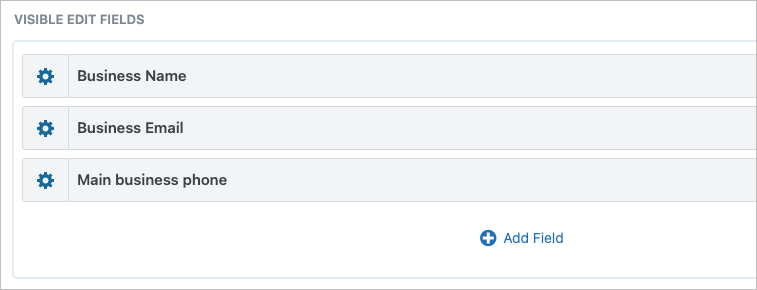
For example, let’s say we only want the entry owner to be able to update the Business Name, Email and Phone Number fields.
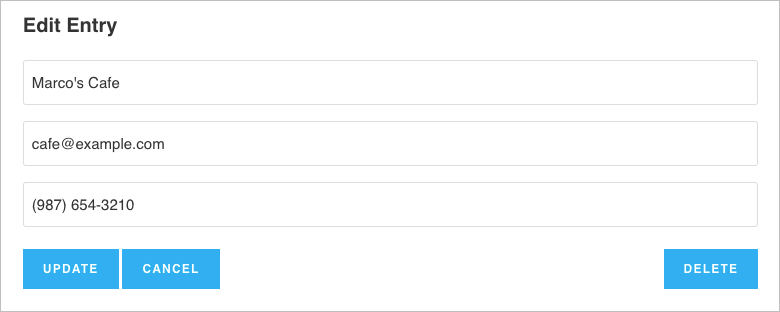
As you can see, when opening the Edit Entry page, only those three fields are editable.
That’s it!
Tweaking the Edit Entry Settings
To adjust the Edit Entry settings, scroll down to the Settings meta box and click on the Edit Entry tab on the left.
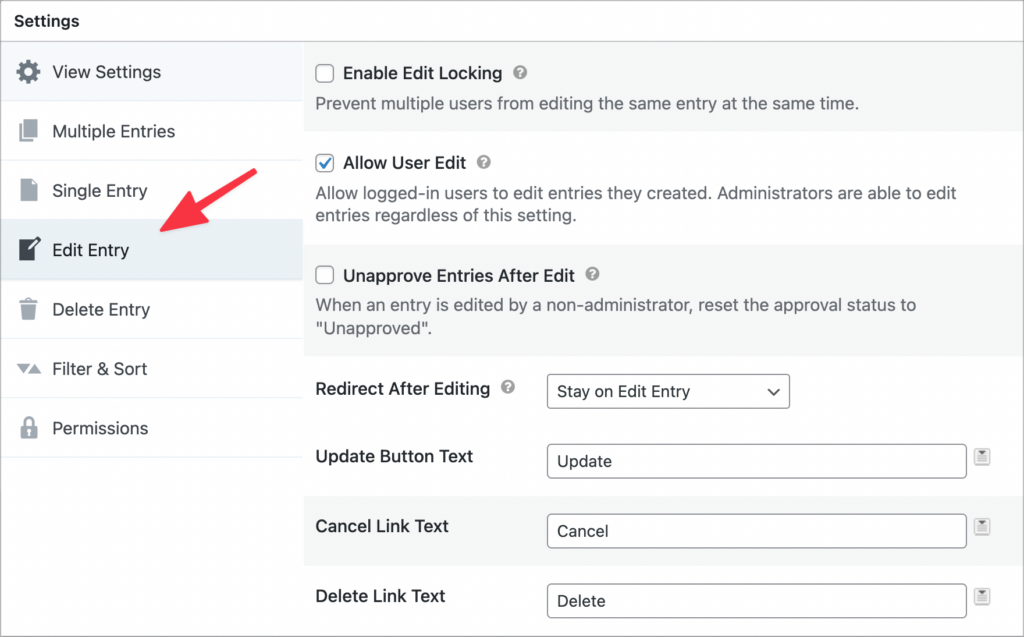
At the top you’ll see three checkboxes:
- Enable Edit Locking
Enabling this options stops multiple users from editing an entry at the same time. - Allow User-Edit
Enabling this allows logged-in users to edit entries that they create. - Unapprove Entries After Edit
Enabling this option resets the approval status of an entry to “unapproved” after it has been edited by a user.
Below that is an option to redirect users after they edit an entry. You can either stay on the Edit Entry page, redirect users to the Single Entry page, redirect users to the Multiple Entries page or redirect users to a custom URL.

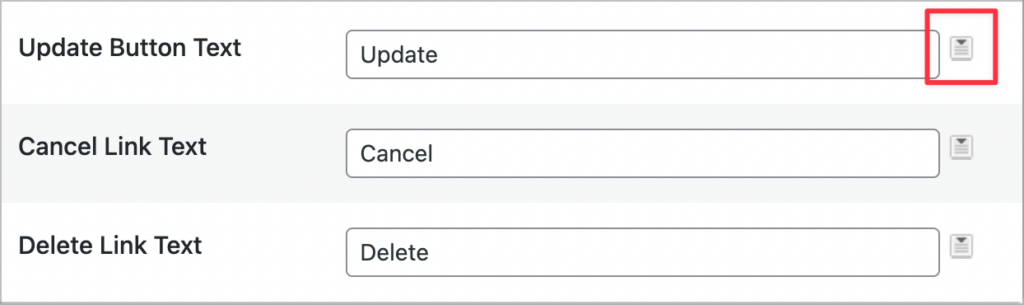
Finally, you can also change the text for the Update, Cancel and Deletes buttons. You can also use Gravity Forms merge tags to display content dynamically from the listing.
Wrapping Up
That’s it for this lesson. In the next part of the course, we’ll go over the View Settings in a lot more detail. I’ll see you there! 👋