
Create a Document Library to Display on Your Website
Back to: Build a Document Library on Your WordPress Website
License Note
You’ll need GravityKit’s GravityView + Extensions or higher license for this lesson.
Now that you have your form completed and notifications set up, you’ll want to create a few test entries so that you can see what your document library looks like as you build it.
Begin by clicking New View in the GravityKit menu.
Name your document library something creative like Document Library, then select the form that you’ve collected your test entries on.
Set Up the View
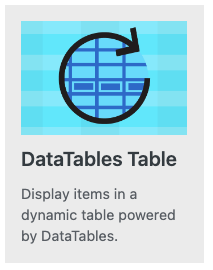
Next you’ll need to choose a View Type. A DataTables Table will give you the most flexibility. If you have not yet installed this View Type, you’ll see the option grayed out in your list of available View Types. When you hover over it , you’ll see an option to install.
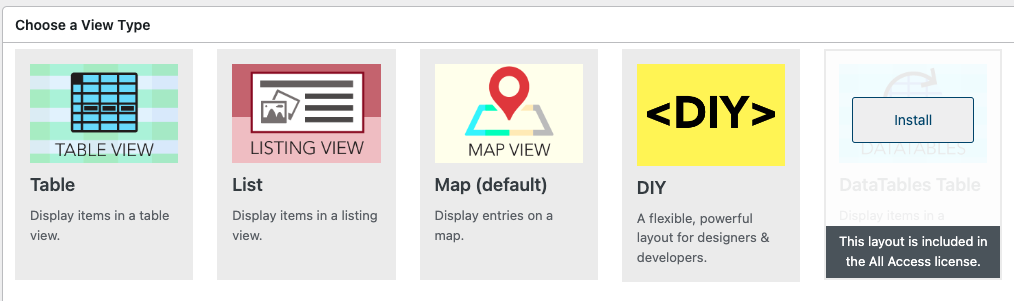
Once you’ve installed it, it will be automatically selected. If you already had it installed, just select that option from the View Types choices.
Once you’ve selected the View Type, begin to set up your View. I like to start by removing the Top Widgets that are preset.
In the Entries Fields area, choose which fields you would like to display and in which order. When finished it will look something like this:
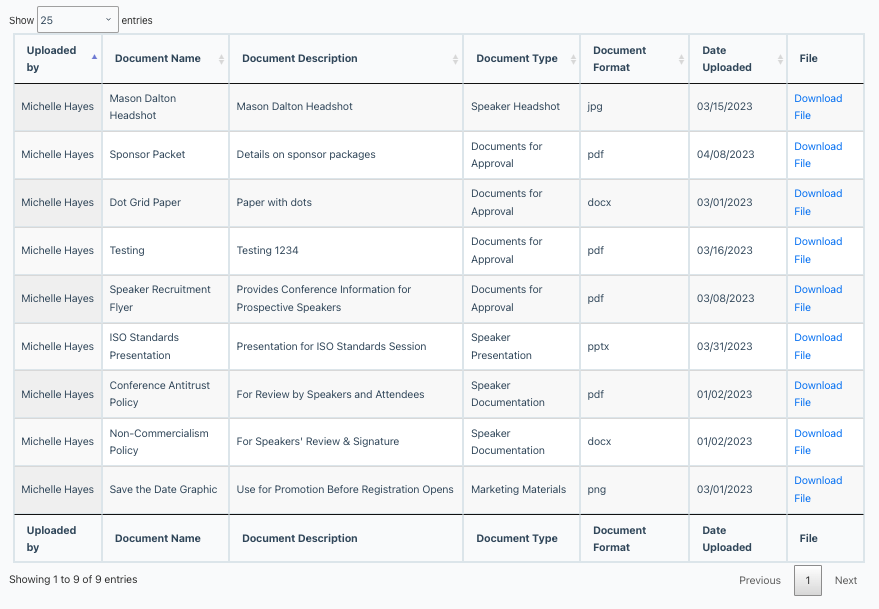
I’ve added the name field, but customized the label to say Uploaded by. To do this, add the name field, then click the gear icon next to it.
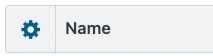
In the section titled Label, fill in the box labeled as Custom Label with the label that you would like to appear at the top of your table.
To add a link to download the file, add a Custom Content field. In the settings, use HTML to create the link as follows:
<a href="{File:6:}">Download File</a>Start with an open angle bracket with the HTML code a href=. Next, open quotation marks and insert the merge tag for the field that the file is uploaded to (in my case the field is named “File” and it’s field number is 6). Close out the quotation marks and the angle bracket. Then type what you want the link to say (“Download File”). Finally, close out the HTML code with </a>.
Add the rest of the fields you would like to display. Remove the Bottom Widgets.
You now have your Multiple Entries Layout configured. You can also configure a Single Entry Layout if you’d like users to be able to click on a field entry to see more about the document. This allows you to keep the Multiple Entries screen concise so that it is easy to view, but allows users to go deeper for more information if they need.
Configure Settings
In the Settings area, choose whether to show only approved entries. If you leave this box checked, you will need to approve entries before anything will show up in your View. If you uncheck the box, anything that is submitted will automatically show up in the View.
In the DataTables settings, choose whether to enable buttons at the top of your table, and if so, which ones. Select whether to enable a scroller. Choose whether any rows or columns should be fixed in place (like freezing the top row or first column). Choose whether your table should be responsive to screen size. Finally, choose whether to enable auto update, so that the table updates on its own without the page refreshing.
Check the other settings tabs to ensure they meet your needs.
Add a Search Bar
A search bar will help to easily find a document as your library gets bigger. The DataTable View Type automatically includes a search box, which allows searching by keyword. Configuring a search bar will allow your users to filter the documents by more than just a keyword.
In the Edit View screen, click the Add Widget button in the Above Entries Widgets section. Choose “Search Bar” from the list, then click the gear icon to select your settings.
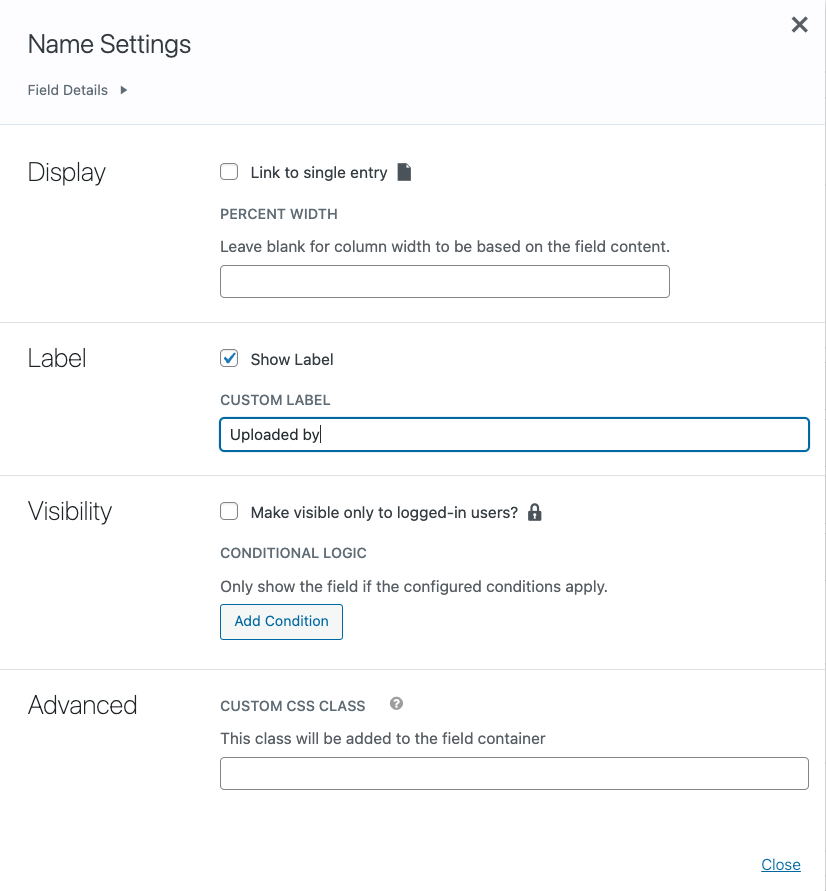
In the settings you can choose whether you want a horizontal or vertical layout. Next select the fields you would like to be searchable. You can enable search by any fields in the entries, not just the ones displayed in this particular View.
Click the plus next to each field to add another.
Some fields that might make sense for searching in this case include:
- Name (change label to “Uploaded by”)
- Document Type
- Search Everything (general search)
You can leave the labels as they originally appear or you can change them for a cleaner look as I’ve done with the Search Everything label. Here is what it looks like:

Search Bar Styling Tip
To style the search bar use this helpful guide from GravityKit.
Next, choose the Search Mode.
With search parameters like this:
- Name: Michelle
- Document Type: Speaker Presentation
Match Any Fields will show any entries that match either criteria.
Match All Fields will show only entries that match all criteria.
With Pre-Filter Choices, you can choose whether to show all options in a choice field, regardless of whether any documents have been uploaded for each option, or you can choose to show only the options that have at least one document uploaded. This does have some security implications if you filter the View so that users can only see some of the library (as described below). Read more details from GravityKit.
Here are the complete settings to match my search bar:
I’ve also used CSS to change the size of the text boxes so that they are similar in size to the dropdown box (I used the helpful guide from GravityKit to determine what to target). You may need to adjust these settings depending upon your theme’s style. Here’s what worked for me:
/*Align Sizing of Search Bar Elements*/
.gv-search-box input[type=text] {padding: 0.3rem 1rem;}
Display the View on Your Website
Start by creating a new page or editing the page where you will place the view.
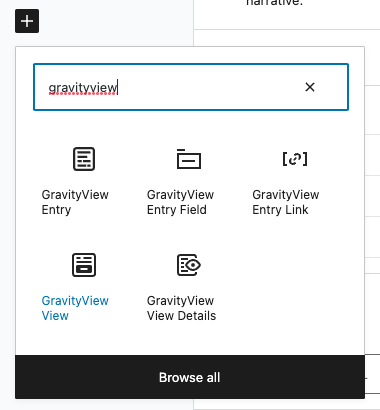
In the block editor, click the plus sign to add a new block, search for GravityView (all one word), then add a GravityView View block to the page.
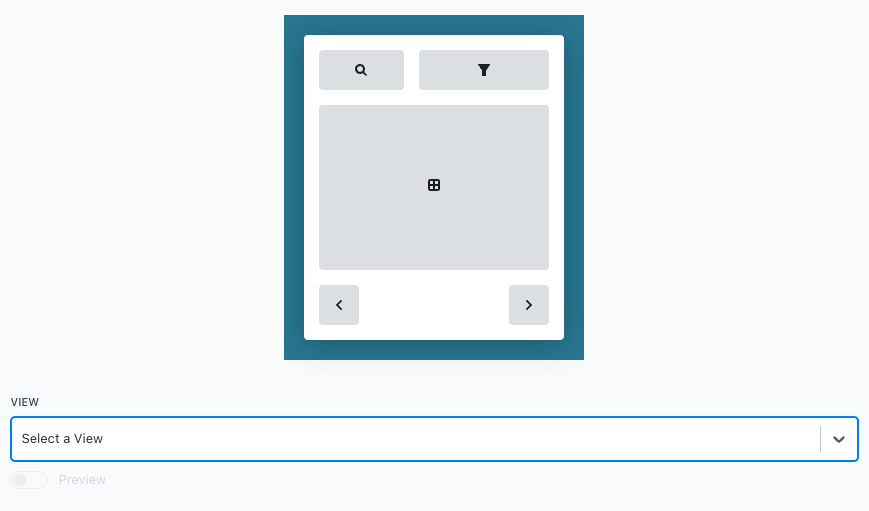
Next choose your View from the dropdown.
Then publish or update your page.
Display Only Relevant Documents Based on User Role
If you would like to have a variety of roles accessing your Document Library, but you only want them to see the documents that are relevant to their role, you can set up multiple Views from the same form. See our course, Using GravityView Advanced Filters to Easily Display Subsets of Your View for more information.
To set up new user roles, the free plugin Members is a useful tool. View our course, Create New User Roles on Your WordPress Site, for more details.
If you’d like to restrict access to a View so it is only visible by the relevant user roles, check out our course Protect a View by Login Status or User Role.