Build a Form to Collect Documents
Back to: Build a Document Library on Your WordPress Website
License Note
You’ll need Gravity Forms Basic License or higher for this lesson.
First consider who will be filling out this form to upload documents and what the purpose will be. For this conference planning team, I want anyone on the planning team to be able to upload documents. I also want speakers to be able to upload their headshots and their presentations. So I want to make sure the form is user friendly enough for those unfamiliar with the website to be able to upload their files.
Begin by building a new form.
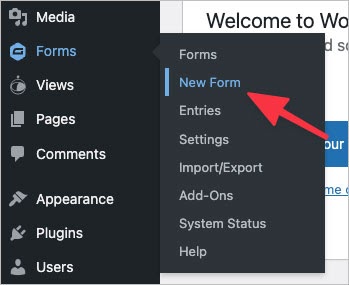
Give your form a title, then start adding fields. Consider fields such as:
- Document Name
- Document Description
- Document Category
- Name of Person Uploading File
- File Type (PDF, PNG, CSV, etc.)
- Date Submitted
Of course you’ll need a File Upload field.
If you want to allow (or require) form users to crop their images, check out the GravityKit post about Gravity Forms Image Upload Plugins, which details the differences between two popular options: Gravity Forms File Upload Pro from Gravity Wiz and Image Hopper.
If you’d like to create a naming template for the uploaded files so that you have some control over what the files are named, Gravity Wiz offers Gravity Forms File Renamer or a snippet you can use on your own.
For the date field, you can use a {today} merge tag to automatically fill in the date. Just place the tag that produces the format you want in the Default Value field on the Advanced tab of the Field Settings. If you don’t want users to be able to change this field, you can hide the field or use Gravity Perks’ Read Only or code from Gravity Forms.
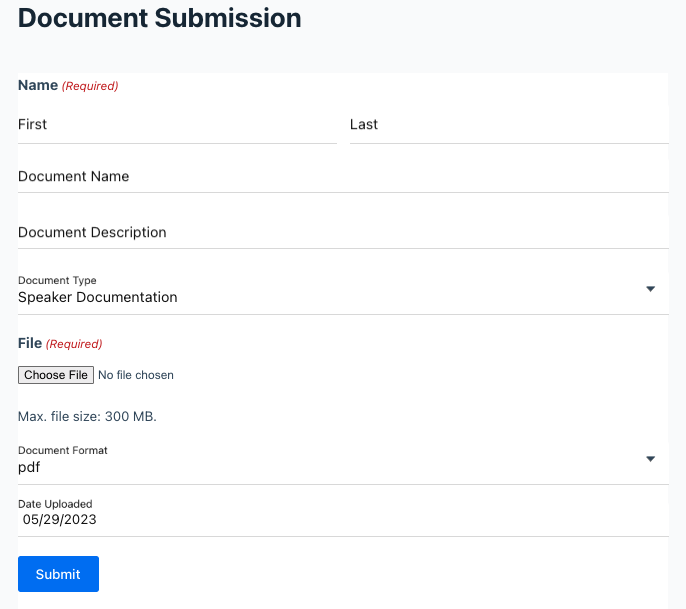
Here is a look at my document collection form.