Create a Registration Form
Back to: Automate Your Gravity Forms Reporting with GFChart and Gravity PDF
License Note
You’ll need Gravity Forms Basic License to create the test form for this step. However, to collect payments for your actual event registration, you’ll need the Pro or Elite License depending on your preferred payment gateway.
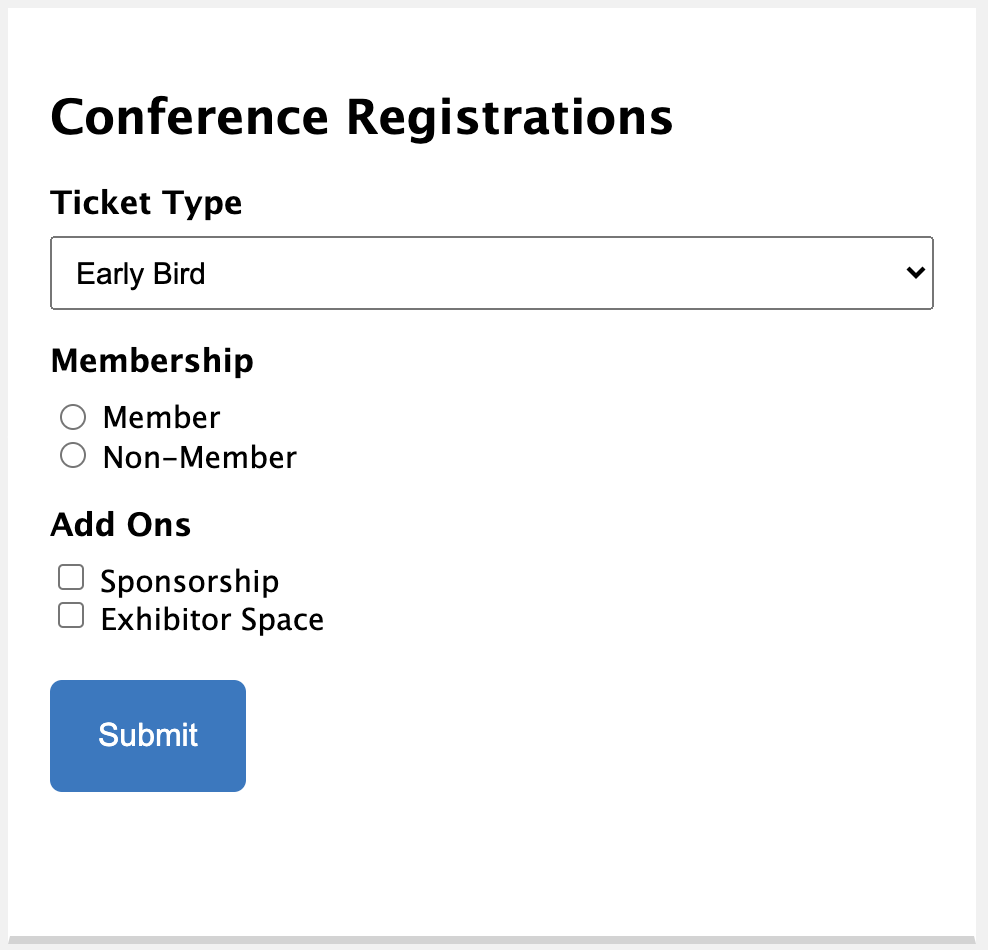
I’m going to create a very basic registration form to demonstrate the functionality discussed in the intro. You can modify this form as is appropriate for your needs.
I’ve added a dropdown box to select ticket type with the following options:
- Early Bird
- Member
- Regular
- Free
Next, I’ve added a radio button to indicate whether they are a member or non-member. You could set this up as a hidden field, giving Members a link that automatically indicates their membership status by dynamically populating the field.
Finally, I’ve added a checkbox field that allows registrants to choose whether they want to add on a sponsorship or reserve an exhibitor space.

These basics are enough for our testing purposes but eventually you’ll want to add on pricing fields as well. You can create product fields and turn on conditional logic so they show based on the selections made. You can also automate the availability of the Early Bird pricing option using Gravity Perks Conditional Logic Dates.
You’ll also want to collect details about your registrants, such as their name and other demographics. Gravity Forms walks you through how to create an Event Registration Form that considers all the options.
Now that our form is complete, we’ll want to enter some test entries so that we can test out the form and have some data to work with as we create our charts. I would recommend at least 10 test entries so that you have a variety of data to work with.
Now that the registration form is created and test entries have been collected, let’s create the charts.
