Approve Result Submissions on the Front End with GravityView
Back to: Host a Virtual 5K with Gravity Forms
License Note
For this lesson you will need a GravityView All Access License or a GravityView Core + Extensions license and a Math by GravityView license.
This lesson applies to everyone, regardless of the method you selected for entering results.
First, we’ll create a View that will allow you to quickly and easily approve entries.
Create a new View and name it 5k Results Approval. Choose the DataTables View type.
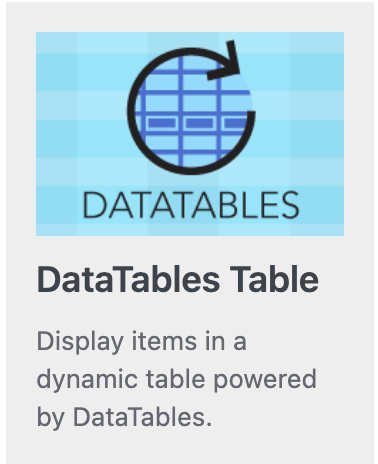
If you don’t see that option, you’ll need to install it from the Views > Manage Add-Ons menu in your Admin menu.
Clear the Above Entries Widget fields and continue to the Entries Fields section. Here select the fields that will be most helpful in approving your entries at a glance. Here are the fields that I’ve selected:
- Photo
- Time
- Name
- Age
The final Entry Field that I’ve selected is Approve Entries. This will allow me to approve the entry from the front end.
To show a whole number for the age, rather than a lengthy decimal, use GV Math in a Custom Content field.
Start with [gv_math] to begin the shortcode.
Next, enter “floor” with an open parentheses. The floor() function strips anything after the decimal and shows only the whole number.
Now click the merge tag icon next to the custom content box. (You’ll need to save your View in order for this icon to appear.) From the drop down box choose your age field.
Once the age field merge tag is entered, close the parentheses for the floor function and then close out the shortcode with [/gv_math].
It should look like this:
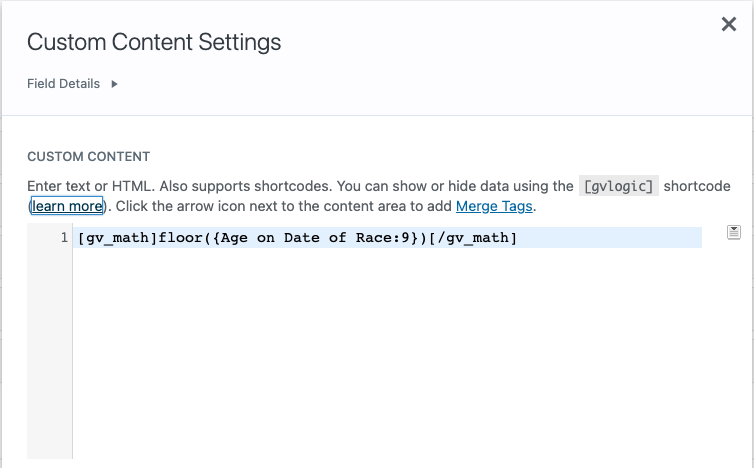
Add a custom label of Age to provide context for this number that will appear in the View.
Now scroll down to the View Settings. You’ll probably want to enable lightbox for images so that if you need to enlarge the image, you can do that just by clicking on it.
If the person who will be approving the entries is an administrator then whether the “Show only approved entries” box is checked doesn’t matter as long as “Show all entries to administrators” is checked. If the person approving the entries is not an administrator, then make sure the “Show only approved entries” is not checked because they will need to be able to see unapproved entries in order to approve them.
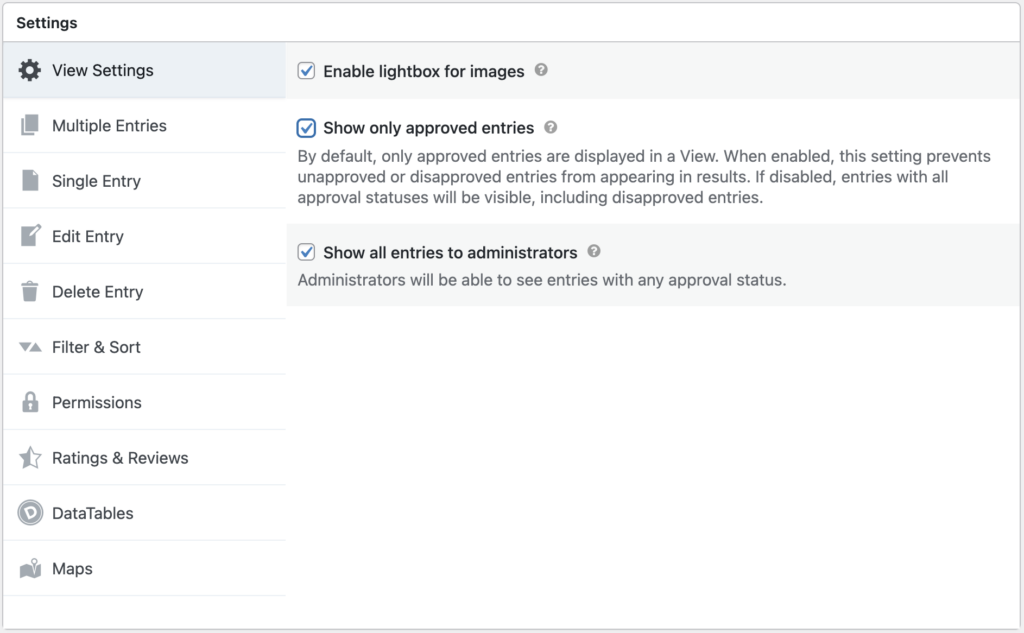
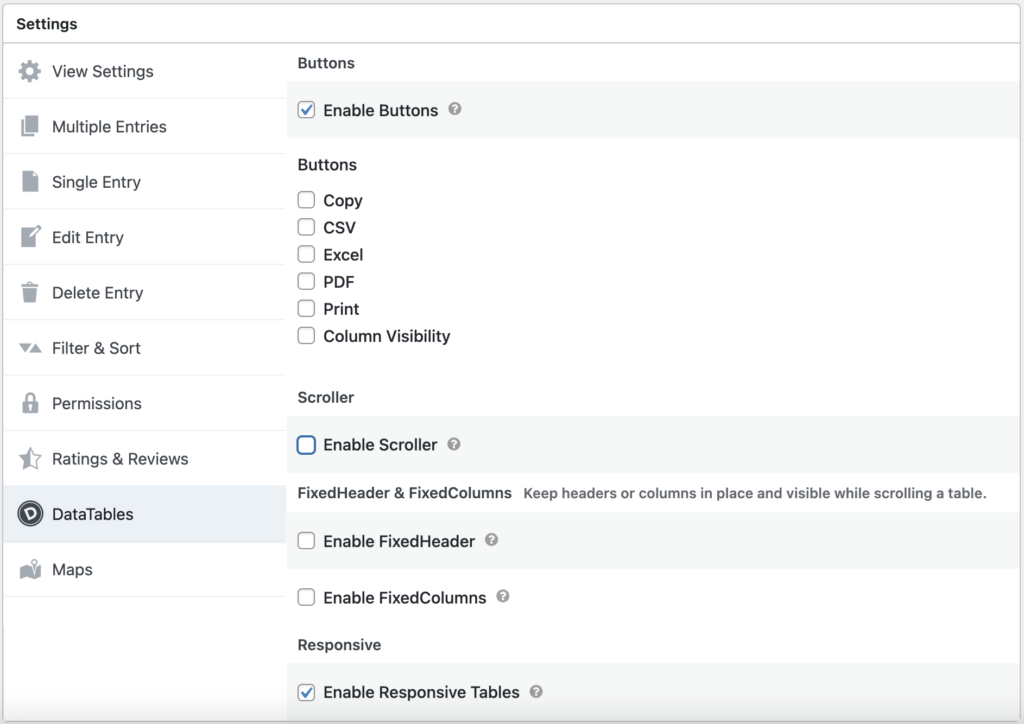
If you look at the View now, you’ll notice that only the first few results show and you have to scroll within the table to see the rest of the results. If you would prefer all of the results to display on the page, click on the Data Tables tab in the View Settings and uncheck “Enable Scroller”.
When you’re done, the View will look like this:
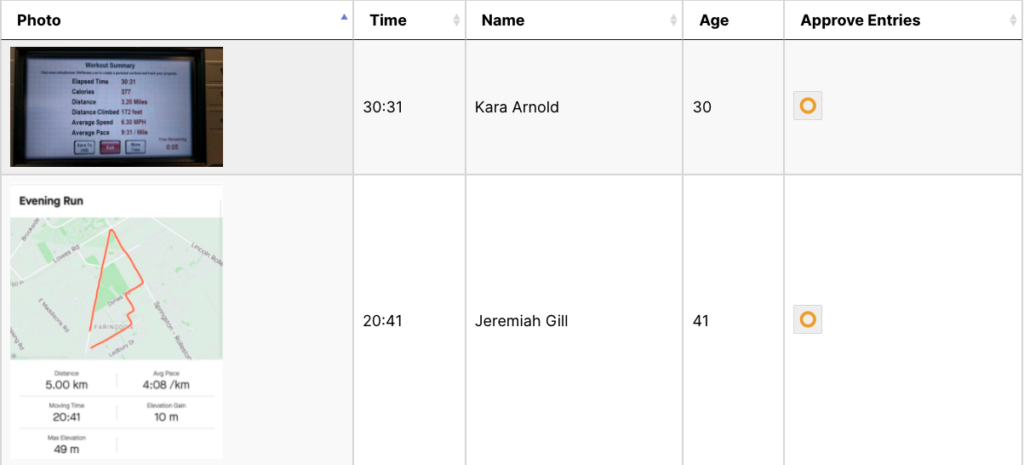
To approve the entries from this View, simply click on the orange O and change it to the green check mark. To disapprove an entry, change the O to the red X.
