Protect Page by Login Status
Back to: Protect a View by Login Status or User Role
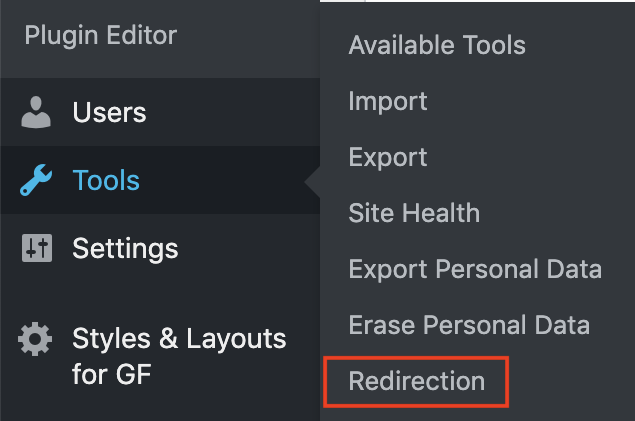
Find the Redirection settings in the Tools menu

Go through the plugin setup. The plugin is well documented and the setup doesn’t impact this tutorial, so I won’t walk through it here.
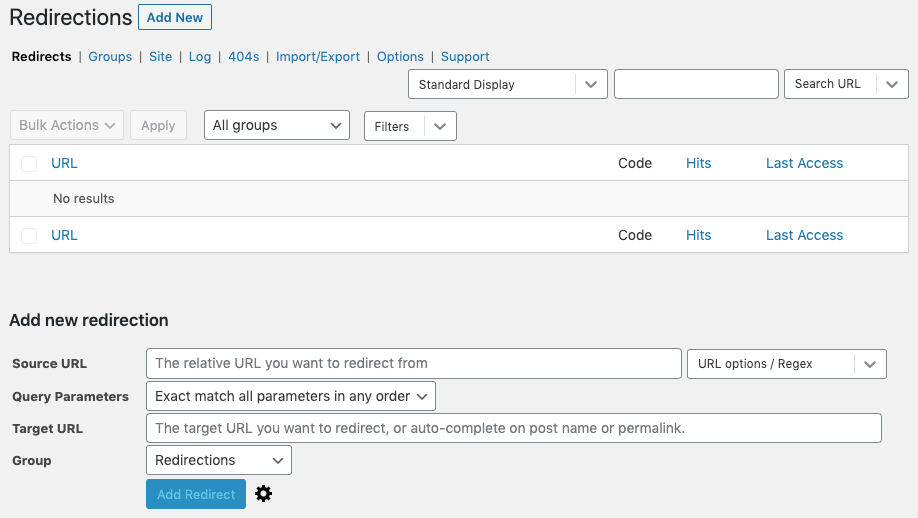
Once the setup is complete, you’ll see a screen that looks like this:

If your protected page is available to anyone who is logged in, then you’ll need only one redirection.
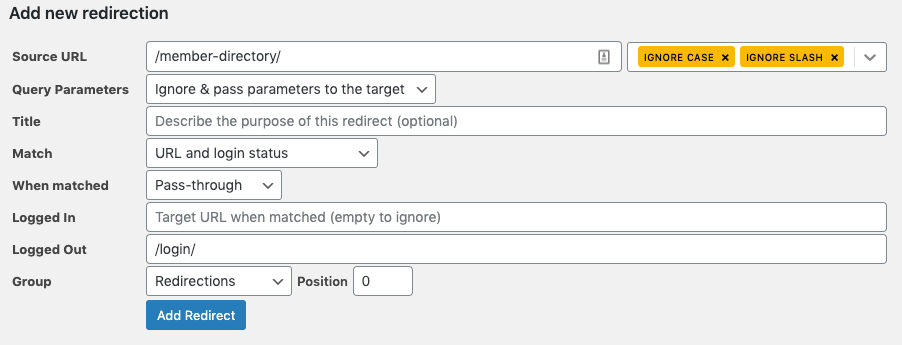
First, in the source URL box, enter the relative URL of the page or post you want to protect. For example: /member-directory/.
In URL options / Regex, I always check Ignore Slash and Ignore Case:
- Ignore Slash means that whether someone enters the URL as yoursite.com/member-directory/ or yoursite.com/member-directory (without the final slash), the redirect will still apply.
- Ignore Case means that whether the URL is typed in caps or lowercase, the redirect will still apply.
- Regex stands for Regular Expression. Enabling this option helps to capture more than just the actual URL. You can read more about this option on the Redirection support site.
Under Query Parameters, choose the option that meets your needs:
- Exact match all parameters in any order means that anything appended to your URL will need to match. If your Source URL includes “?first=Jane&last=Doe” this redirect will only work if the URL entered includes “?first=Jane&last=Doe” or “last=Doe&first=Jane”.
- Ignore all parameters means that the redirect will apply regardless of any parameters appended to the URL. The redirect will not pass the parameters through to the new URL.
- Ignore & Pass parameters to the target means the redirect will apply regardless of any parameters appended to the URL, but it will pass those parameters through to the new URL.
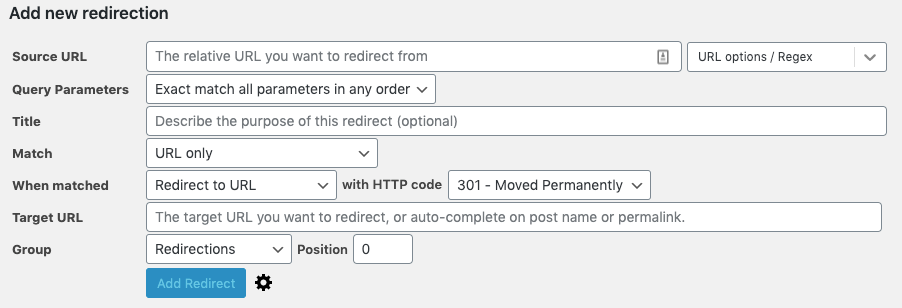
Now click the gear icon next to the Add Redirect button to access the conditional redirect options. Now you’ll see additional fields like this:

The Title field is optional.
From the Match dropdown choose URL and Login Status. This will apply the redirection based on whether the visitor is logged in.
When matched, choose Pass-through. This ensures that the visitor will attempt to reach the page every time. With a redirect like a 301, the next time they try to visit the page, they will automatically go to the new page, even if the meet the parameters to visit the original page this time.
Logged In: this is the URL they should be redirected to if they are logged in. In this case, we want our logged in users to be granted access to the original page, so leave this field blank.
Logged Out: this is the URL they should be redirected to if they are not logged in. I like to redirect to the login page to give them the opportunity to log in if they are a valid user and to send the message that only valid users have access to that page. You could also create a fun page that says “Uh oh! Only users have access to that page…” with a link to the login page for users who forgot to log in. This redirection can also be written in the form of a relative URL, for example: /login/.
Group can be set to your preference. You can create new groups from the groups tab to help you keep track of your redirections if you have a lot. If not, you can leave it at the default.
Position won’t matter if you have only one redirection related to this page, so you can leave that at the default as well.
When finished it should look like this:

To test that the redirection worked, try these steps:
- Attempt to reach the page from the browser where you are logged in. You should reach the protected page.
- Open an incognito/private window or use a different browser, then try to access the protected page. Since you are not logged in, you should be redirected to the login page (or whichever page you set your redirect to).
